Your mattress is, honestly, probably the single most mite-dense object in your whole home. Nobody wants to hear that right before bed, but it’s true, and most people never clean it the way it actually needs to be cleaned. They strip the sheets, maybe run a vacuum over them once a year if that, and call it done. If you’re here because your allergies flare up the second your head hits the pillow or you just read something that freaked you out a little, this is the full How to Deep Clean a Mattress process, laid out step by step, with no skipped corners and no wasted effort.
Why mattress cleaning for dust mites is different from regular cleaning
Here’s the thing. Regular cleaning is mostly about dirt you can see. Crumbs, dust, and the odd hair tie that’s been missing for three weeks. Dust mites and mattresses are a different problem entirely because the mites themselves, and more specifically their droppings, live down in the top two inches of the fabric, where a quick wipe never reaches.
So the tools change. The process changes. Even how often you do it changes. A duster or a damp cloth isn’t going to touch allergen proteins buried in foam and fiber, and that’s really the whole reason why questions about how to rid dust mites in mattresses keep popping up in every allergy forum you can find. It needs heat, suction, and a bit of patience.
There’s also the matter of what mites actually feed on. Dead skin cells, basically, which every human sheds by the thousands overnight without ever noticing. Add in a bit of sweat and warmth from your body, and you’ve got a nearly perfect little ecosystem for them without lifting a finger. Bedrooms with poor airflow or heavy moisture tend to report worse allergy symptoms, and honestly, that pattern isn’t a coincidence.
It isn’t just the mattress either. Your pillowcases, sheets, and the whole bedroom area collect particles from skin, dust, and whatever’s floating in the room, so the mattress ends up being one part of a bigger sleeping environment problem, not the whole story. Waking up sneezing every morning is usually the first clue something in that area needs attention.
What you need before you start
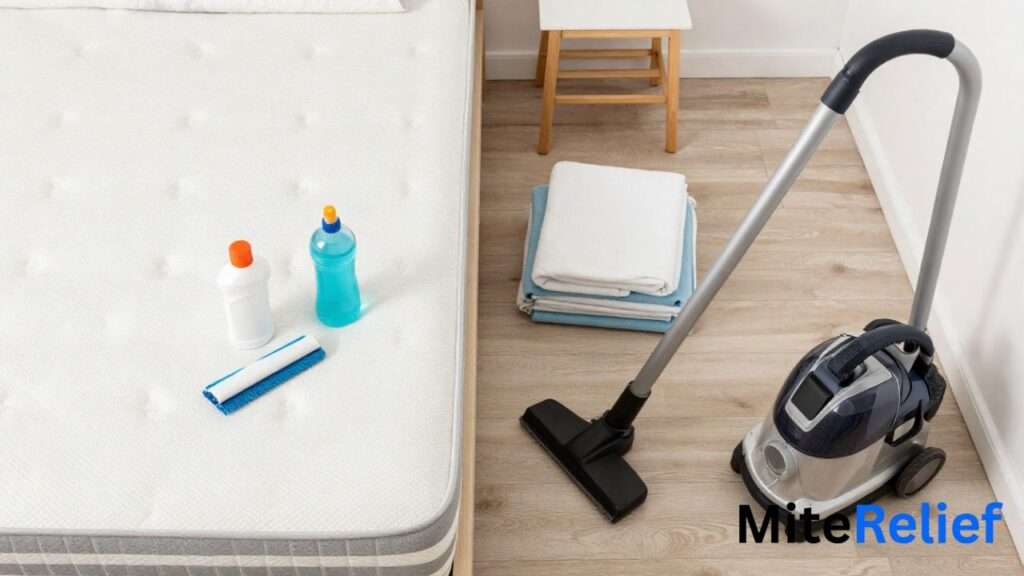
Before you even strip the bed, get everything within arm’s reach. Running back and forth mid-clean is how half of this gets skipped.
• A HEPA vacuum with an upholstery nozzle (a regular vacuum just isn’t built for this; more on that below)
• A steam cleaner, rated for at least 60°C output
• An allergen-neutralizing spray
• Baking soda, the plain kind, nothing fancy
• Fresh bedding, washed and ready to go before you start, not after
A quick note on the vacuum, since people ask this a lot. Any HEPA model works; you don’t need some specialist mattress-only gadget. Just make sure the upholstery nozzle attachment is included, because the wide floor head is genuinely useless against fabric this dense. And don’t start the process at eleven at night thinking you’ll sleep in after; this whole thing needs a full afternoon, start to finish.
Step 1: Strip the bedding and HEPA filter Vacuum the mattress
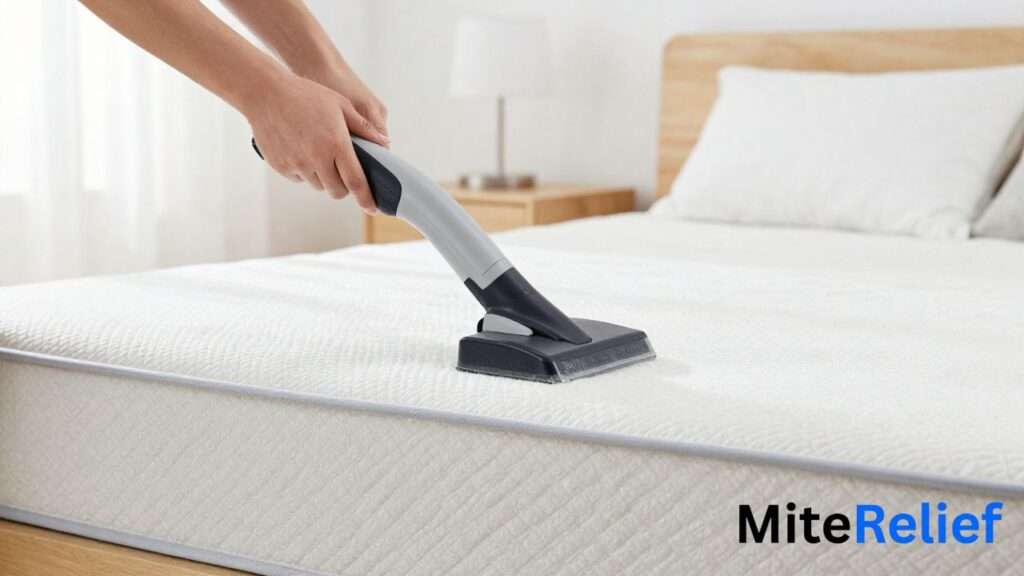
Why a HEPA Vacuum Matters
A regular household vacuum, the kind most of us already have plugged in somewhere, isn’t actually suitable here. It can blow allergens straight back out into the air instead of trapping them, which sort of defeats the point. A HEPA vacuum traps the fine allergen particles instead of recirculating them.
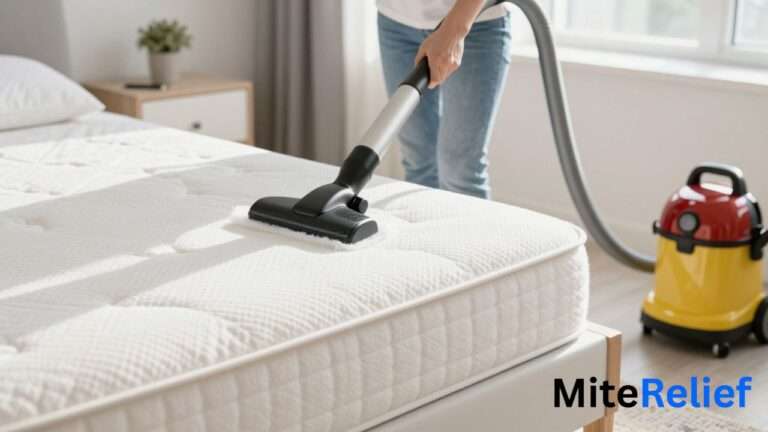
Pull off the sheets, pillowcases, and mattress protector first and toss them straight into a hot wash; don’t let them sit around. Washing bedding to remove dust mite allergens has more on why hot water specifically matters here. Then go over the whole mattress with slow, overlapping strokes, top to bottom. Don’t rush the seams and edges either; that’s exactly where debris and skin cells collect and mites tend to cluster.
It’s slow work; no way around that. Ten, maybe fifteen minutes on a queen-size mattress if you’re doing it properly, and yes, your arm will get tired somewhere around the halfway mark. Flip the mattress if the manufacturer allows it and vacuum the underside too; most people forget that side exists entirely, but bacteria and dust settle there just as easily.
Step 2: Apply Baking Soda and Leave for 1 to 2 Hours
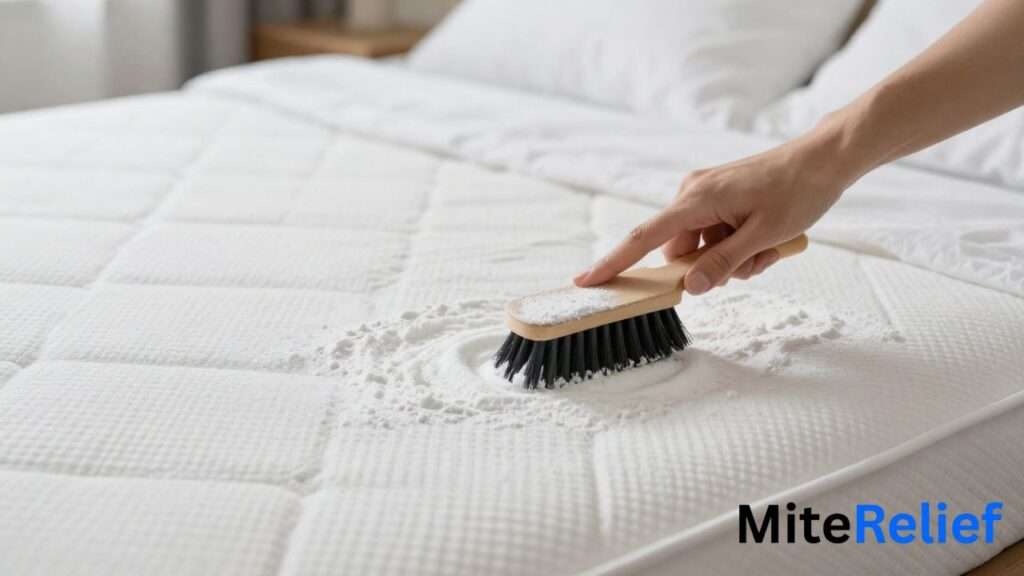
Sprinkle baking soda across the entire surface. Work it in lightly with your hand or a soft brush; don’t just leave it sitting on top in a pile. It absorbs moisture and body oils, helps desiccate surface-level mites, and knocks out a fair bit of the odor while it’s at it.
Give it a full one to two hours before touching it again. Rushing this step is tempting; everyone’s tempted, but the longer it sits, the more it actually pulls out. Once the time’s up, vacuum it off completely with the HEPA vacuum before you move on to steam.
If you’ve got a couple of drops of tea tree oil or another mite-unfriendly essential oil sitting in a cupboard, mixing a few drops into the baking soda before sprinkling is a nice extra step, though not strictly required. Some people skip this entirely and get fine results anyway, so don’t stress if you don’t have any on hand.
Step 3: Steam Clean the Entire Mattress Surface
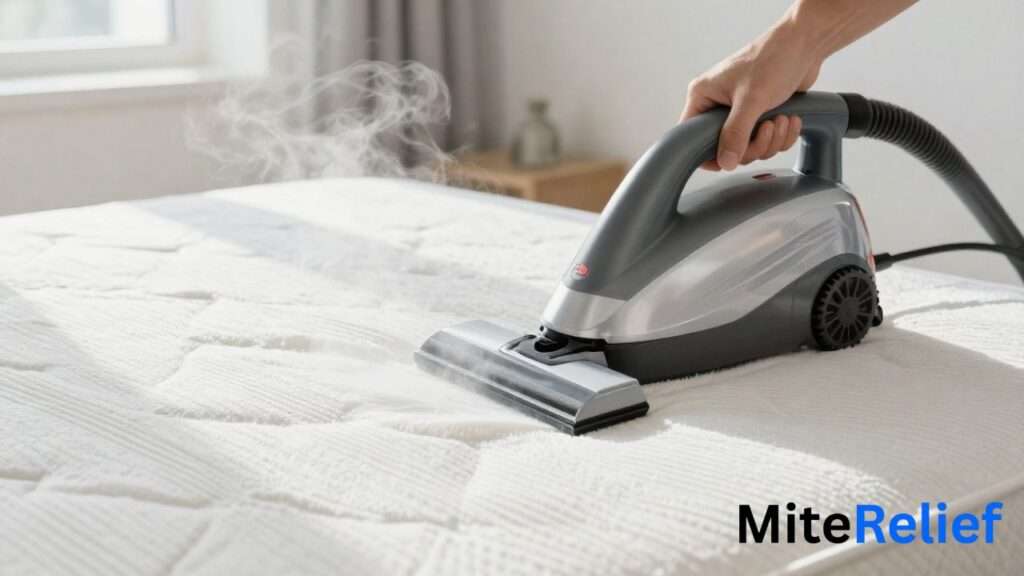
How Hot Should the Steam Be?
Steam above 60°C, which is about 140°F, is what actually kills dust mites on contact. Most home steam cleaners run hotter than that anyway, so this usually isn’t a problem; just keep the nozzle moving slowly rather than blasting one spot.
Common Steam Cleaning Mistakes
• Soaking the mattress too wet; more isn’t better here
• Skipping the seams and edges because they’re annoying to reach
• Sleeping on it before it’s fully dry (please don’t)
• Moving the steam cleaner too fast, which barely warms the surface
Work in slow, overlapping strokes across the whole surface. Steam cleaning for dust mites is the single most effective step in this entire process, since 100°C steam kills all life stages of the mite on contact, eggs included. Give the seams extra passes. Then walk away for three to four full hours and let it dry completely before you even think about remaking the bed.
Step 4: Apply an allergen-neutralizing spray after drying
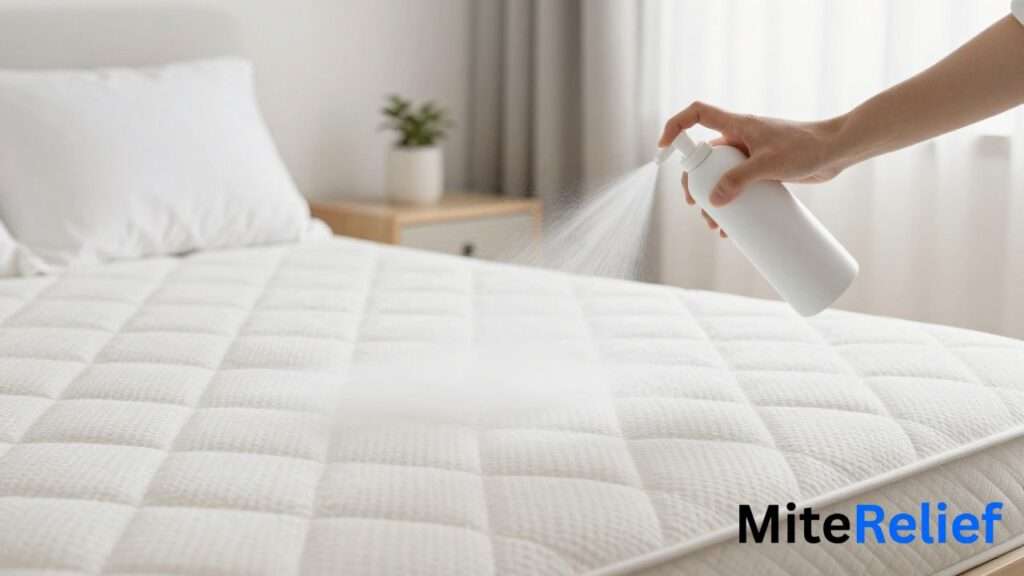
Steam handles the surface brilliantly, but it doesn’t always reach allergen proteins buried deeper in the fibers. That’s where an allergen spray comes in once the mattress is completely dry, not before.
Apply it evenly across the whole surface and give it another 30 to 60 minutes to sit and work. If you’re shopping around, dust mite sprays for mattresses are worth a look before you commit to whatever’s cheapest on the shelf, since not all of them are formulated the same way.
Step 5: Encase the Mattress Before Remaking
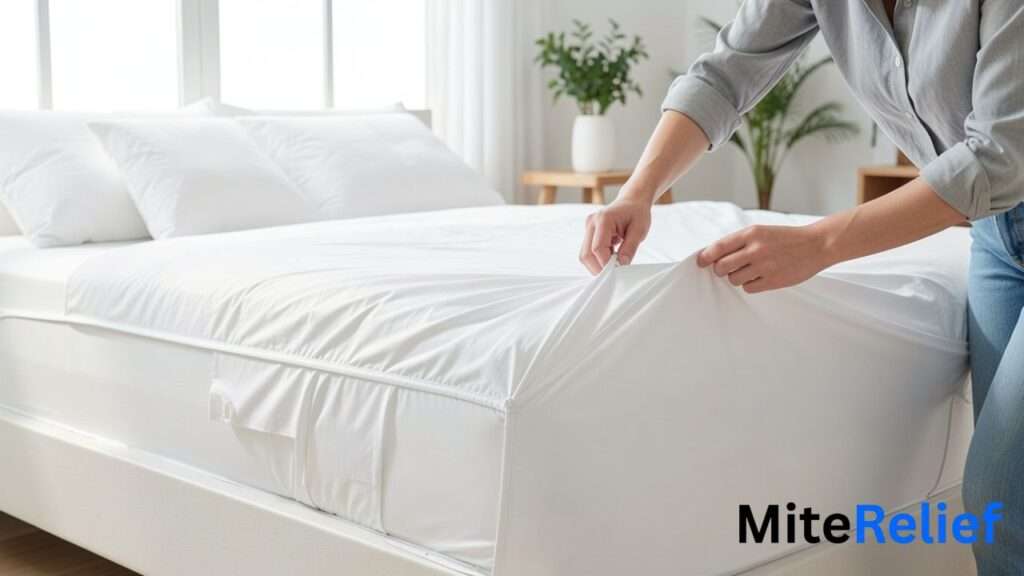
This last step is, in my opinion, the one people skip most and regret most. A full mattress protector or encasement stops mites from recolonizing the surface you just spent an hour cleaning. Without it, you’re basically starting the clock over the day you’re done.
Look for one that wraps and zips around all six sides, not just a fitted sheet-style cover over the top; those leave the edges exposed and that’s precisely where mites get back in. Cheap covers also tend to rustle loudly every time you move, which nobody mentions until they’ve already bought one and it’s 2am. If the budget’s tight, a zippered option for just the top and sides still helps, even if it isn’t the full six-sided version.
Best Products After Deep Cleaning
| Product | Best For | Recommendation |
| HEPA Vacuum | Removing allergens | Recommended |
| Steam Cleaner | Killing dust mites | Best Choice |
| Allergen Spray | Neutralizing allergens | Good Addition |
| Mattress Encasement | Preventing reinfestation | Essential |
Full encasement prevents recolonization, and it’s honestly the single best investment you can make right after a deep clean. Take a look at dust mite-proof mattress covers for picks that actually hold up over time instead of tearing after a few washes.
How Often Should You Deep Clean Your Mattress for Dust Mites?
A full deep clean every three to six months is the general rule. HEPA vacuum monthly in between, and steam clean roughly once a quarter. If you’ve already got a mattress encasement in place, you can actually stretch the deep clean out to twice a year instead, since the barrier is doing a lot of the work for you. Stick to this schedule, and sleep quality tends to improve noticeably within a couple of weeks; most people notice it before they even think to connect the two.
Special Cases, Memory Foam, Pillow-top, Latex Mattresses
Not every mattress handles this process the same way, and it’s worth knowing the differences before you get the steamer out.
| Mattress Type | Steam Safe? | HEPA Vacuum | Drying Time | Recommendation |
| Memory Foam | Light steam only | Yes | 4 to 6 hours | Avoid soaking |
| Pillow-top | Yes | Yes | 4 to 5 hours | Clean seams carefully |
| Latex | Light steam | Yes | 3 to 4 hours | Naturally more mite resistant |
| Hybrid | Yes | Yes | 3 to 4 hours | Deep clean every 3 to 6 months |
Memory foam wants a light steam pass only; don’t drown it, and give it the full 4 to 6 hours before it goes back on the bed. Pillow-top mattresses need a bit more attention on the padded seams since that’s where debris hides. Latex is naturally more resistant to mold and mites, but it still needs a monthly vacuum; it’s not maintenance-free just because it’s naturally resistant.
One thing worth mentioning: pillows themselves collect just as much allergen buildup as the mattress does, sometimes more since they’re closer to the nose and mouth all night. Give pillows and dust mites the same HEPA and steam treatment every couple of months, or wash them on hot if the care label allows it; don’t just clean the mattress and assume the job is done.
Common Mattress Cleaning Mistakes to Avoid
• Using a regular vacuum instead of a HEPA one
• Skipping the mattress seams because they’re fiddly
• Applying too much moisture during steaming
• Forgetting to wash the bedding straight afterward
• Not using a mattress encasement once everything’s dry
A lot of these come down to impatience, honestly. Everyone wants the bedroom back in order by dinner time, but skipping the drying window or rushing the seams just means doing the whole process again sooner than you’d like. Set a reminder on your phone if you have to; whatever gets you to actually wait the full three or four hours.
Frequently Asked Questions
Can you completely eliminate dust mites from a mattress?
Not entirely; they’re everywhere, but this process brings the population and the allergen load down dramatically, and regular upkeep keeps it that way.
Should I replace my mattress if it has dust mites?
No, that’s rarely necessary. A proper deep clean plus an encasement afterward does the job for the vast majority of mattresses.
How do I know if my mattress has dust mites?
Waking up with sneezing, itchy skin, or a stuffy nose that clears up once you’re out of the bedroom is usually the giveaway.
How long does a mattress take to dry after steam cleaning?
Three to four hours minimum, sometimes longer depending on the mattress type; don’t remake the bed early just because it feels dry on top.
Is baking soda on a mattress safe for babies and children?
Generally yes, once it’s fully vacuumed off, but ventilate the room well and make sure no residue is left behind before anyone sleeps on it.
What to Read Next
• Best Bedding for Dust Mite Allergies
• Do Steam Cleaners Kill Dust Mites? (And Does UV Light Work Too?)
• Best Vacuum Cleaners for Dust Mites (2026 Buying Guide)
Conclusion
Honestly, it comes down to five things, and none of them are complicated. Strip the bedding and HEPA vacuum the whole mattress, seams too. Sprinkle baking soda and walk away for an hour or two; don’t rush it. Steam clean at 60°C or hotter with slow strokes and extra passes on the seams since that’s where everything hides. Let it dry all the way; that’s nonnegotiable, then hit it with an allergen spray. Last step, and people skip this one constantly: encase it properly so mites don’t just wander back in a week later.
Look, a clean-looking mattress and a truly clean one aren’t the same problem to solve, not even close. It takes an area of your afternoon, some baking soda, a steam cleaner, and a bit of patience, but the payoff, actually breathing easy every night in your home, is worth everything and the effort every single time. Keep up with it monthly and quarterly after the first deep clean, and it stops being a project and just becomes a five-minute habit.
Medical Disclaimer
This content is for informational purposes only and is not a substitute for professional medical advice, diagnosis, or treatment. Always consult a qualified healthcare provider regarding persistent allergy symptoms, skin reactions, asthma, or breathing difficulties. Never delay or disregard seeking professional medical advice because of information you have read on this website

Umar Farooq is the founder of MiteRelief, a resource for dust mite control and allergy prevention. After battling allergen sensitivity, he started creating research-backed guides that turn complex indoor air quality science into practical, affordable solutions anyone can implement.